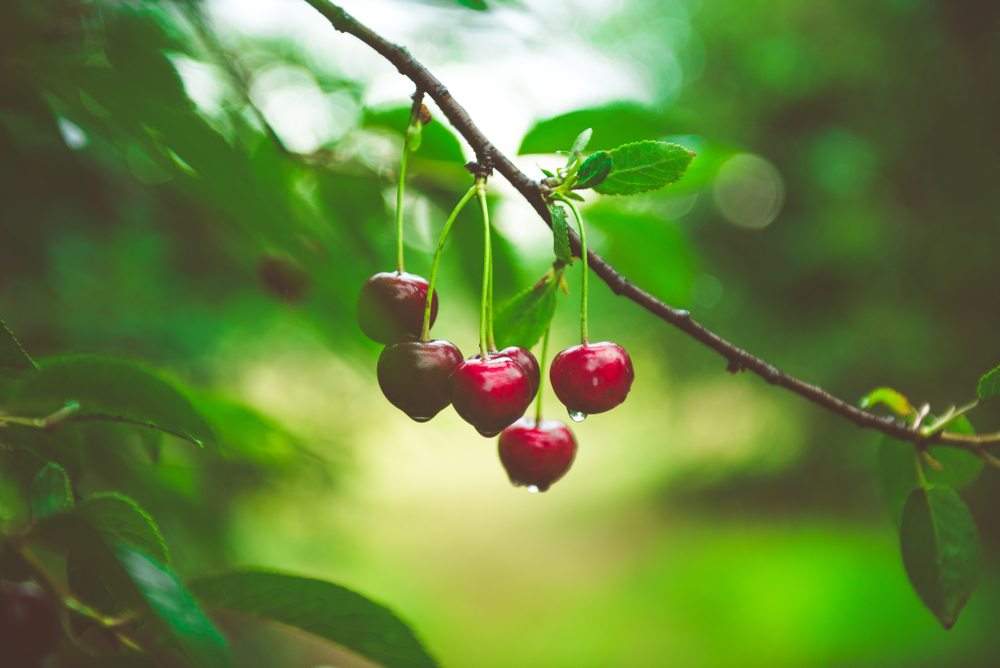
Cherries are an essential summer fruit. If you are lucky enough to have a garden, you can grow a cherry tree from a cherry pit at home and hopefully enjoy your harvest every year.

Get cherry pits
In order to grow a cherry tree in your garden, you must of course have access to cherries. Ask your neighbors if they have a cherry tree in their yard. If so, take advantage of the summer season to ask them for a handful of these deliciously sweet fruits. If you do not know anyone in your immediate vicinity with a cherry tree, please contact the growers in your area. They will be able to confirm (or not) the capacity of your habituation site to accommodate this type of fruit trees. To buy cherries outside of your neighborhood, bet on specimens from local markets and from organic farming and heritage varieties instead.
Prepare the cores
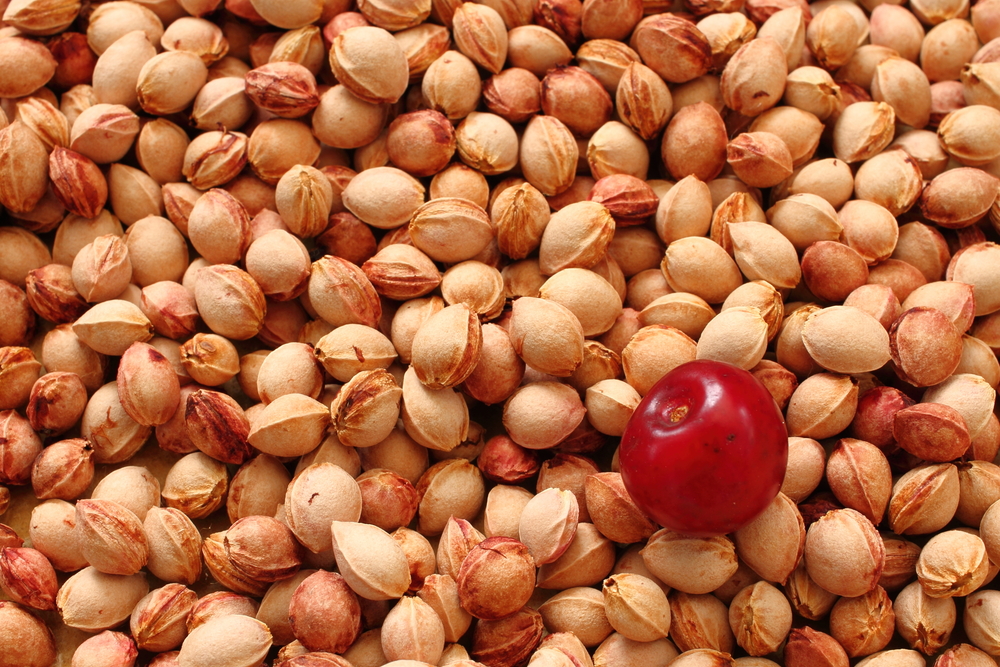
Once you have found your cherry pits, all you need to do is remove the pulp from the fruit and clean the pits with water. Then put them in a bowl filled with water. Keep only the ones that don’t float, the others won’t sprout. Finally, dry your remaining pits in the sun and lay them on a piece of newspaper.
Germinate the grains
If you’re unfamiliar with stratification, or dormancy freezing, here’s a summary: It’s a natural process that allows seeds to slow their germination. Cherry pits are actually a shell that protects the cherry seed while waiting for winter to pass. Indeed, the low temperatures would kill the tiny shoots of the seeds if they germinated once the fruit had fallen from the tree. Therefore, to awaken the seeds, we can reproduce low temperatures (or just wait for spring to sow its cores/seeds): this is called stratification.
To do this, you just need a terracotta pot: line the bottom with gravel or clay balls, add a mixture of soil (one third) and the rest of sand. Plant your pits and make sure to cover them well with your mixture. Once this setup is complete, place the jar in the refrigerator for 2 months.
When the 2 months are up, you can take the pot out and put it in a warm, sunny spot. Throughout the process, make sure to keep the soil moist until germination.
Choose the location of your cherry tree
Germination has finally started and your cherry tree is therefore starting to point the end of its stem? Now is the time to decide where to plant it. To do this, bet on a sunny part of your garden, sheltered from the wind, and avoid planting in clay soil with little drainage.
After the area has been determined, dig a sufficiently deep hole in the ground: about 50 centimeters and 1 meter wide. Remove anything that could hinder the growth of your cherry tree: pebbles, stones, roots. Add an organic nitrogen-rich fertilizer to the bottom of the hole. You can finally transplant your cherry tree (when it is 20 to 30 centimeters high) by spreading its roots well in the hole. To make it grow properly and straight, install a stake and gently tie the small tree to it. Water liberally and mulch around the base.
In a few years you may have the chance to taste cherries!