If your Whirlpool washer stops agitating, the racheting pawls may be worn out or broken. The fix is inexpensive and easy, even for a beginner. Slide a 1/2-in.-drive, 6-in.-long socket extension bar into the square hole in the hold-down and unscrew. Then remove the hold-down.

How to fix a Kenmore washing machine agitator?
Washing Machines
- Auto temp. control
- Auto fabric softener dispenser
- Rotary dial
- Stainless-steel tub
- Manufacturer recommends low-sudsing detergent.
- Comes with a 1 year warranty.
How to troubleshoot a whirlpool washer?
Whirlpool Cabrio Washer Not Spinning
- Check Drive Pulley Nut. The nut that keeps the drive pulley together can become loose over time. ...
- Faulty Shift Actuator. Washers are one of the most convenient ways to get your clothes clean at home, but they can also be one of the most frustrating.
- Check Lid Switch. ...
- Drive Belt Issues. ...
- Defective Door Latch. ...
How to troubleshoot a whirlpool Cabrio washer?
- A defective door lock that fails either electrically or mechanically may stop the washer in the mid-cycle. ...
- Whirlpool Cabrio washer lid lock problems would also prevent the washer from spinning mid-cycle. ...
- The failure of the water inlet valve to fill water or continuing to fill water can cause the washer to stop mid-cycle. ...
How to change the agitator in a hotpoint washer?
How to Change the Agitator in a Hotpoint Washer Unplug your Hotpoint direct-drive washer from the wall outlet. Open the lid on your appliance to access the agitator. Install a socket extension onto a socket wrench and connect a 7/16-inch socket to the extension. Spread a towel onto the floor. Remove the socket wrench from the extension and socket.
How do you know if your agitator is loose?
The agitator should start to oscillate back and forth, mixing up the clothes in the water. If the agitator does not move, double check that the sensor is depressed. If it still does not move with the sensor depressed, the agitator is broken and should be repaired.
Are agitators supposed to be loose?
Top-load washers with an agitator (late 2015 and newer) are designed to be slightly loose. This "wobble" allows the agitator to flex with the clothes when washing heavy loads, which helps protect clothing. The agitator does not need to be tightened; this is normal.
How do you fix a washing machine agitator?
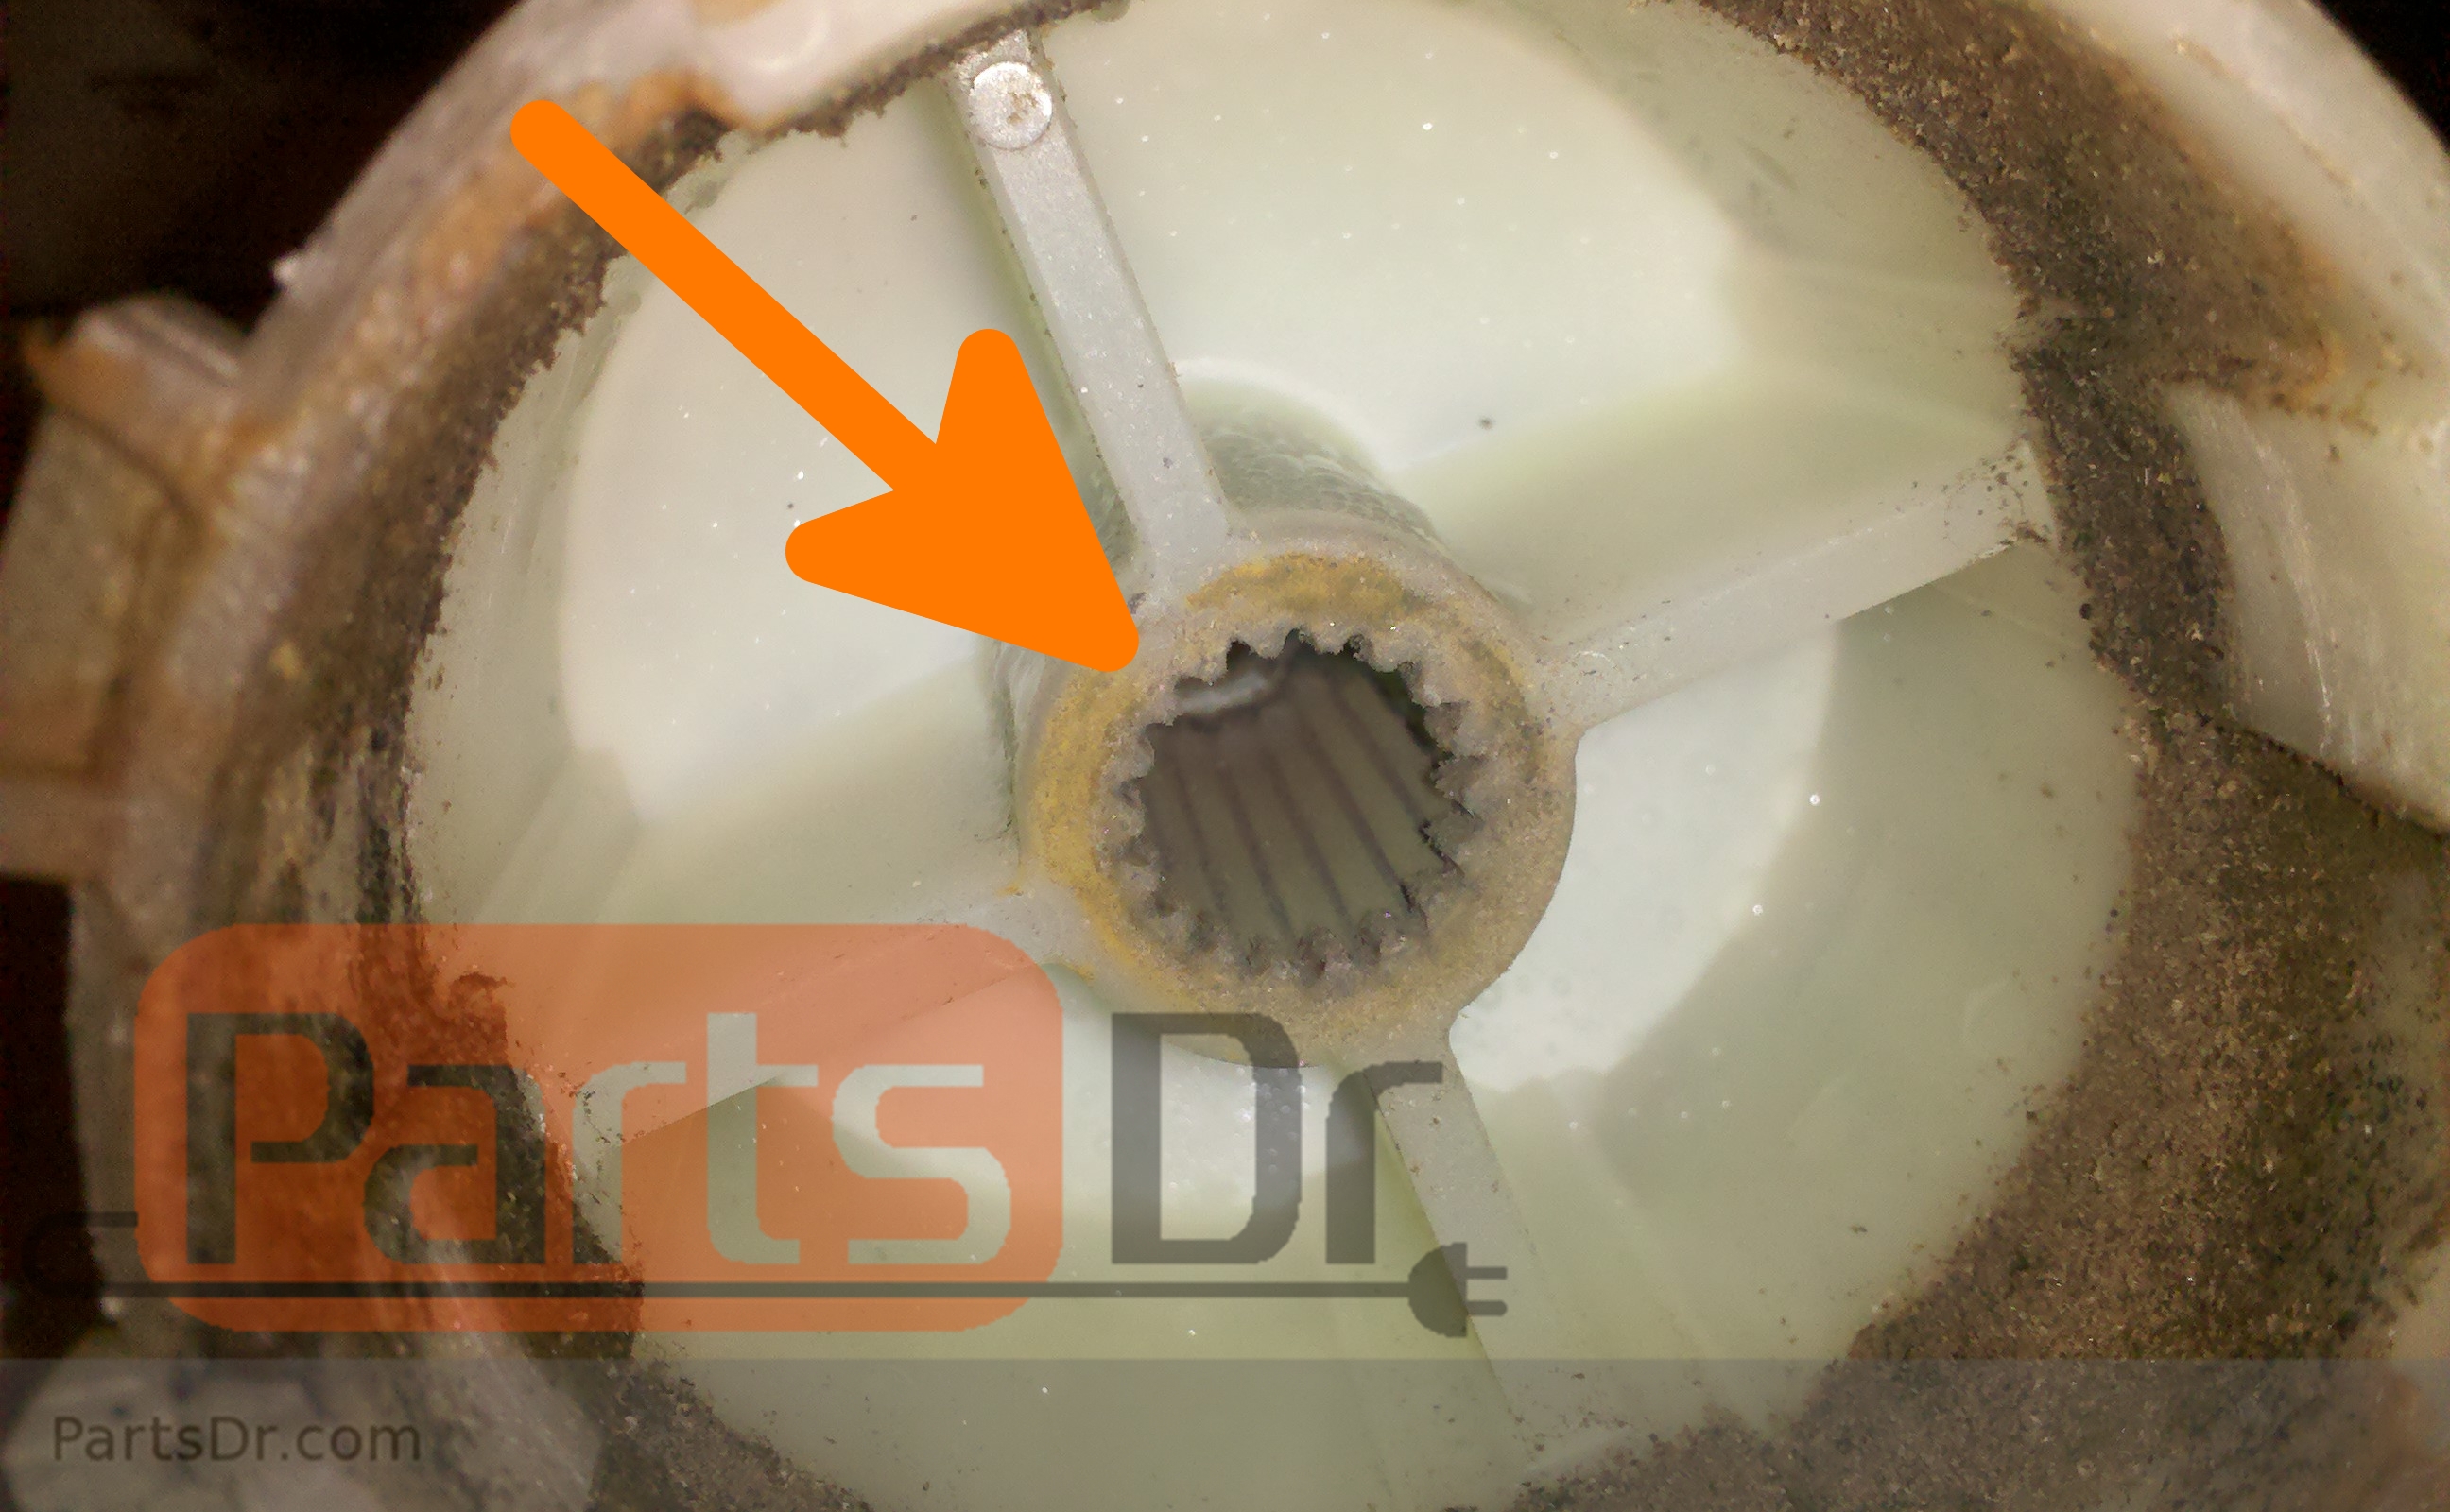
2:2011:01Washing Machine Won't Agitate - Top 8 Problems and Fixes - YouTubeYouTubeStart of suggested clipEnd of suggested clipYou may have splines or flats that lock onto the shaft. If they're worn out the coupling will spinMoreYou may have splines or flats that lock onto the shaft. If they're worn out the coupling will spin freely on the shaft. And the washer won't agitate. If that's the case you'll need to replace it.
How do you reattach an agitator?
2:246:51How to Fix Washer Top Agitator Not Working - YouTubeYouTubeStart of suggested clipEnd of suggested clipOff you need to get these four out all right so hit these are the old ones you can see one of themMoreOff you need to get these four out all right so hit these are the old ones you can see one of them broke so make sure you get all the junk out use one a little clasp you guys are here.
How much does it cost to replace a washing machine agitator?
On average, expect to spend $350 to $575 for washing machine agitator replacement. A broken agitator in a washer is a significant fix. If the agitator is broken, the clothes will not oscillate back and forth.
Why is my washer drum loose banging around?
Issue with Pump or Filter. In some instances, the drum bearings need to be replaced. If your washing machine makes a loud rumbling or repetitive banging sound, which is particularly bad on a spin cycle, then it is most likely due to loose or worn out drum bearings.
How do you fix a whirlpool agitator?
4:215:46Replacing the Agitator Repair Kit (Whirlpool Part # 285811) - YouTubeYouTubeStart of suggested clipEnd of suggested clipWe'll take our new bolt. Put it on our ratchet tilt the whole agitator upside down line up that boltMoreWe'll take our new bolt. Put it on our ratchet tilt the whole agitator upside down line up that bolt with a hole. Now we're ready to put it back in the washer now the agitator is ready to install.
What holds the agitator in a washing machine?
The agitator cap is the round disk on top of the agitator which sometimes contains fabric softener or laundry detergent. Depending on your type of machine, you may need to pry it off with a screwdriver. There may be a small slot where you place the screwdriver or the cap may have a gap all the way around it.
How do you put a whirlpool agitator back together?
2:204:48How To: Whirlpool/KitchenAid/Maytag Complete Agitator Assembly ...YouTubeStart of suggested clipEnd of suggested clipAll right when you're putting the two sections back together there's locking tabs on the lowerMoreAll right when you're putting the two sections back together there's locking tabs on the lower agitator that lock together with this part the agitator cam.
Why does my washer agitator keep coming off?
The agitator could come off the base if not seated properly. It can easily be snapped back in place: Line up the grooves in the agitator auger with the agitator base. Turn counter-clockwise until it locks into place.
Can you use washing machine without agitator?
A washer without an agitator tends to use less water and energy. They have a larger capacity because the spindle of the bulky agitator doesn't take up space. An alternative impeller mechanism that is installed in the middle of the washer basin is effective in cleaning clothes.
Should washer agitator spins freely?
A symptom of a damaged coupler is a grinding sound during the wash cycle, and the agitator spins freely. Unplug the washer and use some strength to pull the agitator straight up because it's generally tightly attached.
Simple solution to a big problem
If your Whirlpool washer stops agitating, the racheting pawls may be worn out or broken. The fix is inexpensive and easy, even for a beginner.
How to get your washer agitating again
Slide a 1/2-in.-drive, 6-in.-long socket extension bar into the square hole in the hold-down and unscrew. Then remove the hold-down.
Required Tools for this Project
Have the necessary tools for this DIY project lined up before you start—you’ll save time and frustration.
Required Materials for this Project
Avoid last-minute shopping trips by having all your materials ready ahead of time. Here’s a list.