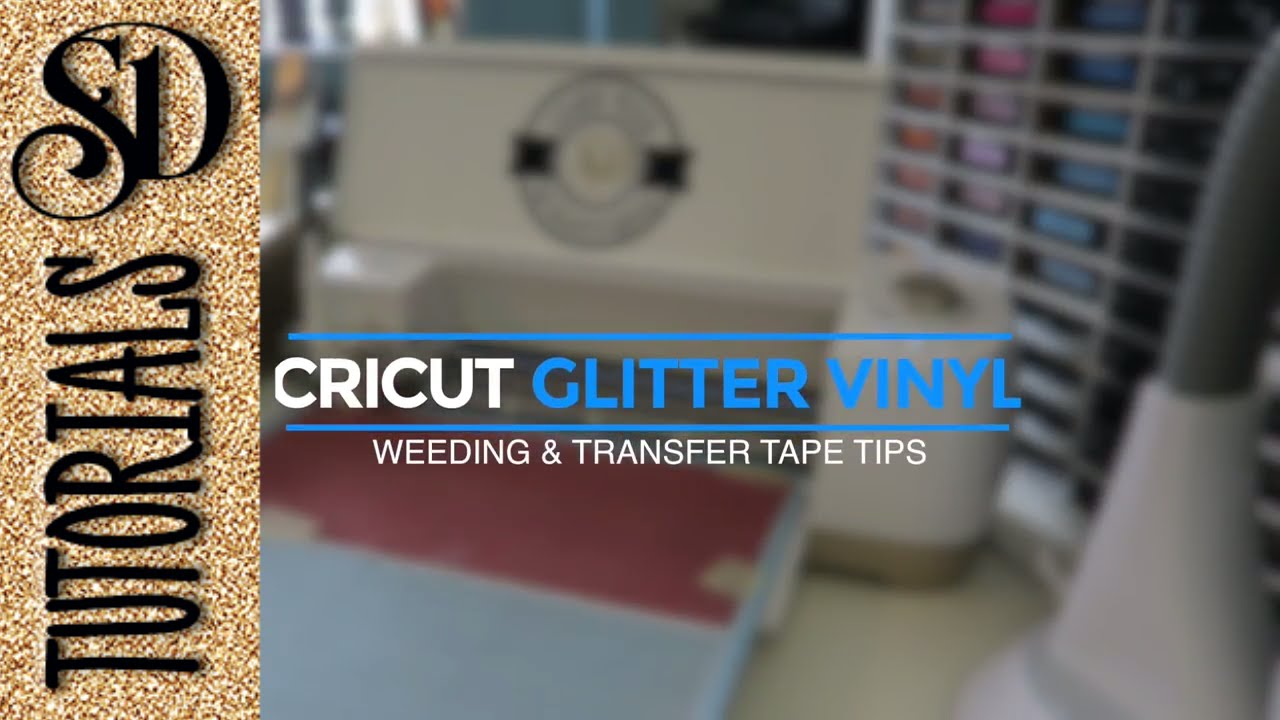
- Cutting Glitter Vinyl with a Cricut Machine. Place vinyl liner side down onto LightGrip Mat. Select images and size and load the mat into your machine.
- Preparation with StrongGrip Transfer Tape. Remove the negative pieces from each of the images, leaving the liner intact. This process is called weeding.
- Glitter Vinyl Kiss Cut Guide. Turn the Smart Set Dial to Custom. Select Browse all materials, then select Glitter Vinyl. Select Browse all materials, then select Glitter Vinyl.
How to make stencils with your Cricut?
Learn how to make a reusable stencil with your Cricut for easy DIY gifts and decor!
- premiering on my YouTube channel at 7 pm EST tonight! ...
- the best way to make LOTS of somethings. ...
- Krylon Easy Tack Repositionable Adhesive Spray. ...
- round foam brush. ...
- cotton flour sack towels. ...
- machine mats
- green Standard Grip mat
- extra large scraper. ...
- stencil designs! ...
How to print then cut on printable vinyl with Cricut?
Printable Vinyl: Cutting and Application Instructions
- Once your project design is complete, load Cricut Printable Vinyl into your home printer. ...
- Follow the instructions in Cricut Design Space to send your design to the printer. ...
- Match the top corner of printed vinyl (liner side down) to the top left corner of your machine mat and load it into your machine.
How to layer vinyl with your Cricut?
Notes on layering heat transfer vinyl
- You can get t he Siser Heat Guide here and the Cricut Iron-on guide here.
- It’s always best to limit yourself to 2 layers on top of each other. ...
- Specialty vinyl (like glitter vinyl) can only go on top.
- If you’re a beginner, I suggest you use the same kind of vinyl for your entire project (although you can totally vary the colours!)
How do I cut on HTV vinyl with the Cricut?
Place your heat transfer vinyl shiny side down onto the green StandardGrip mat. Load the mat into the machine by pressing the Load/Unload button. Press the flashing Go button on your machine to start the cut. When the cut is complete, press the Load/Unload button to unload the mat from the machine.
What setting do I cut glitter vinyl on Cricut?
Instead, set the dial to "Custom". When you do this, you will see a drop-down menu in the Cricut Design Space cutting screen. Select "Glitter Vinyl" under the "Custom Vinyl" option. Now, Circut Explore has been perfectly calibrated, and can cut glitter vinyl at the right depth!
Why is my Cricut not cutting glitter vinyl?
Ensure you are using a Cricut brand blade. Inspect the blade and blade housing and remove any debris that may be stuck to the blade or lodged in the blade housing. Once clean, perform a test cut. If the blade and housing are already free from debris, or cleaning it did not help, proceed to step 3.
How do I use glitter vinyl on my Cricut maker?
3:067:33New To Vinyl - How to use Glitter Adhesive Vinyl - YouTubeYouTubeStart of suggested clipEnd of suggested clipSo you don't have to do anything and just go ahead and load it again and when your cricut iconMoreSo you don't have to do anything and just go ahead and load it again and when your cricut icon lights up you're ready to. Go.
Which side of glitter vinyl goes down?
5:2615:33How to Use Glitter Iron-on Heat Transfer Vinyl - YouTubeYouTubeStart of suggested clipEnd of suggested clipAnd this is our glitter heat transfer vinyl can you see how pretty it is very very pretty so let'sMoreAnd this is our glitter heat transfer vinyl can you see how pretty it is very very pretty so let's go ahead and open it up now glitter heat transfer vinyl. Obviously has a shiny side. And a dull side
How do you calibrate the fine point blade on a Cricut maker?
Cricut Maker: Knife Blade calibrationSelect the account menu, then Calibration.Select Knife Blade.Insert your Knife Blade and place a sheet of plain printer paper onto your machine mat. ... From the drop-down menu, select your machine (double-check to be sure the correct machine is displayed).More items...
Which is the fine point blade for Cricut?
The Premium Fine-Point Blade (formerly known as the German Carbide Premium Blade) can be used with the Maker, Explore, Explore One, Explore Air, and Explore Air 2 machines. Use it with the Premium Fine-Point Blade Housing.
What setting do you use to shimmer vinyl?
Due to the gloss and rough texture of glitter vinyl, it requires more blade pressure compared to regular vinyl. Therefore, do not use the "Vinyl" setting on the "Explore" dial. Instead, set the dial to "Custom".
What is the deepest cut setting on Cricut?
The Cricut Deep Cut Blade can cut most materials up to 1mm in thickness using the multi-cut feature.
Supplies
The very first step is to load your vinyl onto your cutting mat. For my last project I cut exactly the size stencil I would need and loaded it at precisely the right place on the cutting mat… and the numbered grid makes that completely possible.
Step Two: Weeding
No we’re not headed out to the garden! Weeding is when you remove any excess vinyl from the cutting mat so that only your final design remains. Basically you’re peeling up all those little extra bits and bobs from the final design… you should be able to do this easily by just peeling up the excess vinyl.
Step Three: Apply Vinyl Transfer Tape
Now it’s time for the magic to happen! (There’s a lot of magic in this post… sorry this whole cutting machine thing is still fascinating to me). Basically transfer tape is the glue that keeps your whole design together… instead of using tweezers to slowly transfer each letter to your final piece transfer tape will transfer the entire image at once.
What Is Glitter Vinyl?
Glitter vinyl is exactly what it sounds like…glittery, sparkly vinyl. You use it in mostly the same way you would use standard vinyl. But rather than the matte or glossy finish you get with traditional vinyl, glitter vinyl gives a pretty, sparkly sheen to your designs.
Check Your Mat
Glitter vinyl is a bit stiffer than standard vinyl, so you may need to take extra care to make sure your vinyl is firmly secured to your mat before you start cutting (or else you risk your designs not cutting well). When you first go to stick your glitter vinyl to your mat, you may notice that is has a strong tendency to curl up on itself.
Check Your Dial Setting
Because of the sparkly, rougher texture of glitter vinyl, it requires a bit more blade pressure than regular vinyl. As such, don’t use the “Vinyl” setting on your Explore dial. Instead, set your dial to “Custom.”
Check Your Blade
Glitter and other rough textures can dull your blade quite easily. So if you are using a clean mat and your dial is set as described above but you are still getting really poor cuts on your glitter vinyl, then you may need to swap out your blade.
Weeding Glitter Vinyl
Although designing and cutting glitter vinyl are both pretty straight forward, it’s in the weeding of your designs that you are most likely to run into trouble.
Do You Have to Use Transfer Paper with Glitter Vinyl?
One of the coolest things about glitter vinyl is that you don’t necessarily have to fuss with transfer paper, depending on your design and what you’re making. Remember that stiffness I was talking about earlier? Well, it’s that stiffer, firmer texture that helps glitter vinyl act more like a sticker than standard vinyl.
All About Strong-Grip Transfer Paper
All that said, there may be times when you absolutely should use transfer paper with glitter vinyl. Some examples include a project that requires very precise spacing (like my mermaid backpack), or designs that have disconnected elements, small details that could easily rip/distort, or multiple layers.
Used my Cricut to cut this scene and shoot my very first stop motion animation. Then I minted this into an NFT. Happy Holidays!!
Used my Cricut to cut this scene and shoot my very first stop motion animation. Then I minted this into an NFT. Happy Holidays!!
My wife finished 51 of these sweatshirts for her cheer team and parents in one week! Three layers each, worn at the Christmas parade in town. Super proud of her and wanted to show off the hard work!
My wife finished 51 of these sweatshirts for her cheer team and parents in one week! Three layers each, worn at the Christmas parade in town. Super proud of her and wanted to show off the hard work!